Announcement

Collapse
No announcement yet.

Rear Camp Light

Collapse
X
 
  • Filter
  • Time
  • Show
Clear All
new posts

  • Rear Camp Light

    Hi Gents,
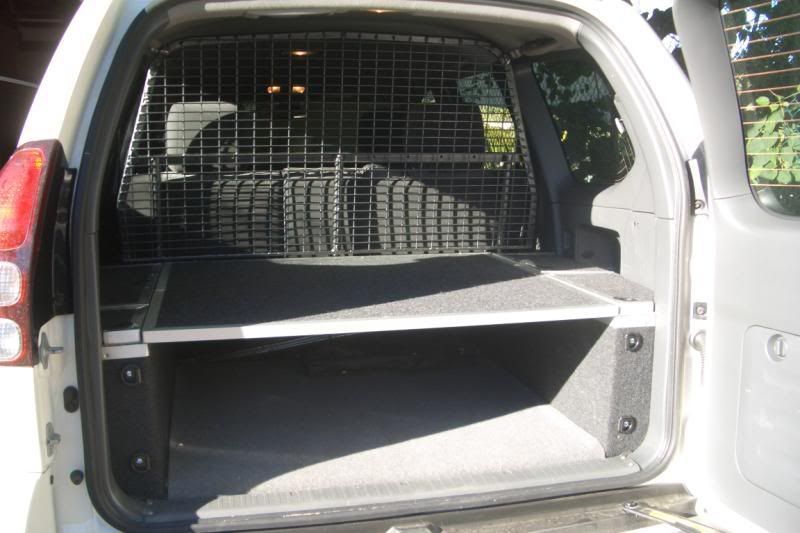
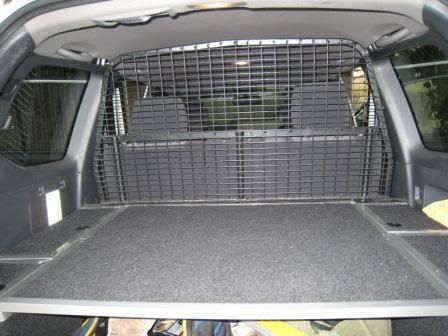
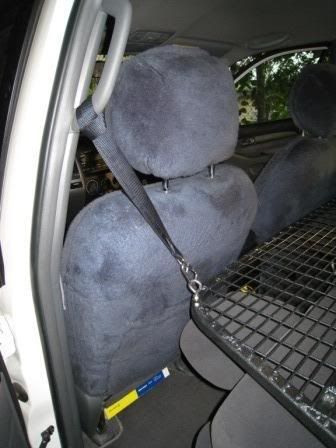
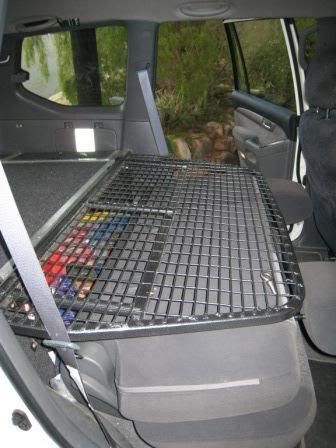
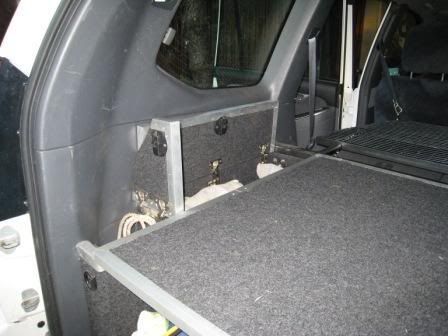
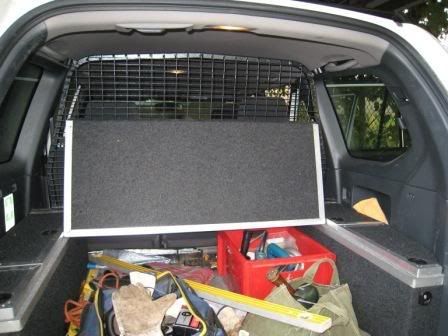
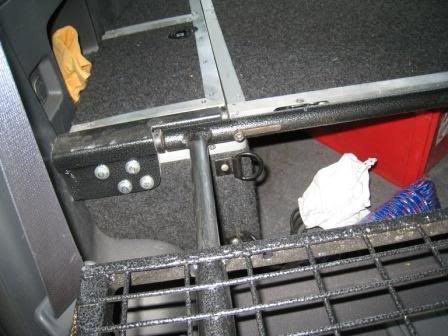
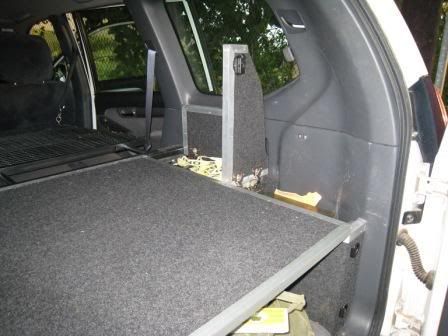
    After finishing my rear draw system (will post pics soon), i am thinking about what else i need to make this summer of camping more enjoyable with the new prado. Thoughts come to a rear camp light. I have seen some of the posts on lights fitted to the roof racks, but cant seem to find anyone who has installed a rear camp light mounted to the standard spare wheel carrier?

    Does anyone have any insight into the best way to do this. The electical part doesnt bother me, it is more of the best way to make/buy a bracket for the install that doesnt look rediculous and is functional.

    Thoughts and help would be appreciated.
    Timmay
    2007 GXL Auto
    Charcol Grey;
    Waeco CF50, Uniden UHF, Dual Batteries with Piranha Tray, Homemade rear cargo drawers
    Wishlist;
    ARB Delux Bar, Hella HID Spotties,
    Coopers ST's

  • #2
    All of the 4wd shops sell extendable rear worklight brackets, it would then be a case to adapt it to the carrier.

    Comment


    • #3
      It's not my final solution for my bracket but it makes an awesome light setup at campsite.... it works like a street light. Heaps of light everywhere.

      Check out my thread here.
      http://www.pradopoint.com/viewtopic.php?t=584

      I'll eventually get one of the shovel/light holders that is pictured here.

      2005 VX Turbo Diesel + a heap of add-ons.

      Comment


      • #4
        If you follow these steps you will be making the equivalent of a reduced scale hayman reece style tow-hitch mount, and installing it in the centre of the spare wheel carrier.

        You can see a photo of the following in the "Tony's prado"album at lcool
        [img]

        http://autos.ph.groups.yahoo.com/group/ ... w/569a?b=2
        [/img]

        That will make more sense than this long explanation. The posted picture shows it in use for a shovel holder, but it works brilliantly for a range of accessories, including a camp light.

        Buy or scrounge a couple of pieces of RHS steel that slide into each other fairly neatly. From memory the "outer" piece I used was 40mm square, and about 200mm long. (The inner piece is about twice that - it would be a good idea to buy a couple of inner pices so that you can make up a variety of accessory mounts).

        Weld a flange around one end of the outer piece and drill some holes in the flange at top bottom and sides (the north, south, east and west points).

        Drill a hole the diameter of your hayman reece style hitch pin all the way through the RHS, and about 70mm or so from the back (non-flange) end. The hole will be oriented horizontally when the bracket is installed, just like for your tow hitch. Drill a 6mm hole in the top face of the RHS, about 12 mm from the back end.

        Remove your OEM spare wheel carrier from the car, and cut the centre out of it so that the RHS will just pass through. If necessary grind down the flange so that it clears the spare wheel support spigot and mounts up flush to the carrier, and bolt in place.

        Install a piece of 3mm flat bar to support the back (non-flange) end of the bracket, by bolting into the 6mm hole in the bracket and another hole drilled into the top of the spare wheel carrier. When the spare wheel carrier is re-attached to the car, the RHS bracket should appear as a square hole in the middle of the spare wheel.

        Now using the inner pieces of RHS, and whatever other bits of steel required, make up some simple accessory brackets. Shovel holder, axe holder, camp light or a combination. (I wouldn't hang a high-lift jack off the mount, but others might be silly/brave enough to give it a try).

        Offer up the accessory bracket to the vehicle mount, and mark the hole for the hitch pin. I pressed it in so that the shovel/light etc, presses hard against the spare wheel to reduce vibration. Others may worry that this will damage the spare tyre over time. I have seen no evidence of such damage. I shortened a spare hitch pin to make it easier to install, but a full-length pin also works.

        Remove the bracket and send it off for powder coating.

        Run a lead for power through the rear door and into the space in the centre of the spare wheel carrier. Make sure that it clears the new bracket. Hook it up to an accessory socket that is compatible with your camp light. Done.

        Comment


        • #5
          Tony,

          Top stuff right there!
          BUT... hehehe
          can you upload the photo's to something like photobucket or imageshack. Unless your a member of the yahoo group that your link is to you can't see the photo.
          2003 V6 GXL, Mickey Thompson MTZ's, Safari Snorkel, ARB Winch Bar, OME Suspension 2" lift, GME TX3420

          Comment


          • #6
            Thanks Tony,

            Also cant see the photos, if you could upload them or alternativly email them to me? PM and i can give you an email address.
            Thanks

            Timmay
            2007 GXL Auto
            Charcol Grey;
            Waeco CF50, Uniden UHF, Dual Batteries with Piranha Tray, Homemade rear cargo drawers
            Wishlist;
            ARB Delux Bar, Hella HID Spotties,
            Coopers ST's

            Comment


            • #7
              If tony wants, I can copy them to my photobucket site and post them back here?
              LES
              [url=http://www.brisbane4wdclub.org/index1.htm]Brisbane 4Wd Club Inc[/url]
              [url=http://www.brisbane4wdclub.org/images/avatars/mystuff.htm]MY STUFF[/url]

              Comment


              • #8
                Les, a very kind offer, and go for your life with re-posting whatever you like.

                You may want to hold off for about a week, as I will try to get a few better photo's of the accessory hitch arrangement, and post them over the next few days.

                thanks, Tony

                Comment


                • #9
                  here is the pic

                  2005 VX Turbo Diesel + a heap of add-ons.

                  Comment


                  • #10


                    LES
                    [url=http://www.brisbane4wdclub.org/index1.htm]Brisbane 4Wd Club Inc[/url]
                    [url=http://www.brisbane4wdclub.org/images/avatars/mystuff.htm]MY STUFF[/url]

                    Comment


                    • #11
                      great setup !!!

                      Comment


                      • #12
                        What an awesome setup. Absolutely brilliant.

                        Cheers
                        Chippy

                        Comment


                        • #13
                          :wink:
                          LES
                          [url=http://www.brisbane4wdclub.org/index1.htm]Brisbane 4Wd Club Inc[/url]
                          [url=http://www.brisbane4wdclub.org/images/avatars/mystuff.htm]MY STUFF[/url]

                          Comment


                          • #14
                            Very nice setup indeed ....

                            Looks like a lot of work went into it ....

                            Comment


                            • #15
                              Les, thanks for posting the pics.

                              Folks, Les has graciously posted the pics of my Prado, cause I was too bloody dumb and lazy to figure out the pic posting thing.

                              The set up in the back is entirely homemade by me. It takes a LOT of buggering about, so make sure you have a very understanding partner who has a heap of other things to do, 'cause she will not be seeing you for a while after you start.

                              The basic construction is out of 17mm Formply, with lighter ply in various places.

                              After stripping everything out of the back, including the lower trim panels, you make a new floor out of two bits of 12mm ply one for each side of the car. That goes directly on top of the metal floor, and becomes the base for the entire arrangement. Being in two parts means you can get each half in and out of the back. Once it is built and trimmed it stays put.

                              The hardest part of the job is building up the courage to take a jig-saw to those beautiful and expensive plastic trim panels...

                              The boxes on either side hold tool and recovery kits, jumper leads and a small mountain of other bits and pieces. The forward one on the passenger side has been made long enough to take a 3/4 axe, which is why there is no axe holder on the spare wheel.

                              The false floor/cargo barrier system allows me to get a QS mattress in the back, and still have heaps of gear under the false floor. My 28 litre Waeco lives in the 2nd row passenger footwell, and is (just!) accessable with the cargo barrier down so I can get cold drinks as I am driving.

                              The hinge in the false floor means that I can fold and strap the floor against the cargo barrier when I move bulky stuff (the most recent was a clothes dryer).

                              By throwing two levers the entire false floor comes out. Another two eye bolts and a (home made) barrel bolt and the cargo barrier comes out, leaving a space all the way from the folded rear seats to the back door if you have really big stuff to shift.

                              The biggest benefit is that the cargo barrier can quickly fold forward so that I can carry long objects - thin timber about 3.6m long fits easily, and with the passenger seat slid forward you can just fit a full size house door in the back.

                              When I go on long trips, I remove the 2nd row seats and bolt in a mini cargo barrier between the floor and the underside of the now-horizontal cargo barrier. That means that the entire floor from the back doors to the 2nd row footwell is available for gear, but safely contained even during a rollover (touch wood...)

                              I am happy to answer any questions about the arrangement as best I can.

                              Comment

                              canli bahis siteleri bahis siteleri ecebet.net
                              mencisport.com
                              antalya escort
                              tsyd.org deneme bonusu veren siteler
                              deneme bonusu veren siteler
                              gaziantep escort
                              gaziantep escort
                              asyabahis maltcasino olabahis olabahis
                              erotik film izle Rus escort gaziantep rus escort
                              atasehir escort tuzla escort
                              sikis sex hatti
                              en iyi casino siteleri
                              deneme bonusu veren siteler
                              casibom
                              deneme bonusu veren siteler
                              deneme bonusu veren siteler
                              betticket istanbulbahis
                              Working...
                              X