Well, after much procrastination, I have ordered a Warn XP9.5 from 4H.com.au. $1850 Brand New. I might need to call on some of the local technical expertise when it arrives to fit it up.
Nice work, I have an XP also. With 2 people you can fit it without removing the bar. If you are going to run a hawse fairlead you'll want to modify your bar so the rope comes off parallel to the drum not a problem if you're running a roller fairlead.
I am going to stick with the steel rope and roller fairlead for the time being.
My Rig Buildup [url]http://www.pradopoint.com/viewtopic.php?f=38&t=4918[/url]
Kevin
Was looking at "Rock Tamers" ( http://www.rocktamers.com.au ) to stop the rock and stone issues with the front of the camper.
UGLY, EXPENSIVE, ENORMOUS things.
Impressed with your simple mud flap extenders.
How far off the ground is the lower edge on yours? And any issues with reversing on rough terrain?
I reckon I'm off to Clark Rubber this week to do what you've done.
Do you leave them on permanently?
They sit about 100mm off the ground (flaps are 300mm long and 300mm wide). I did rip the whole mud flap off when the extension got caught between the tyre and a tree root on an outing a couple of months ago, but that was just laziness, as it only takes a couple of minutes to take them off.
When I fitted them, I just left them on, but now only put them on when I am planning to tow the camper.
Cheers,
Kevin
Do you have any pics of both sides to see how you attached them?
Do you have any pics of both sides to see how you attached them?
Hope that helps...
Thanks, looks like a job for this weekend. I noticed you have the bolt head on the tyre side, I guess this to ensure the nut doesn't rip the tyre apart.
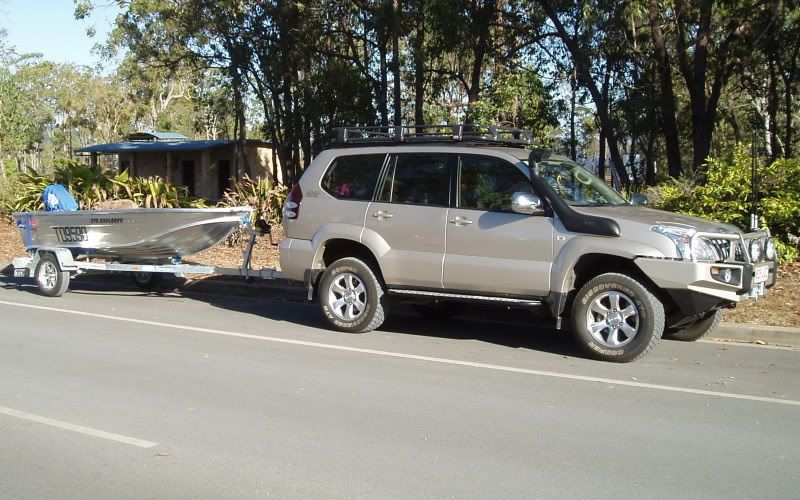
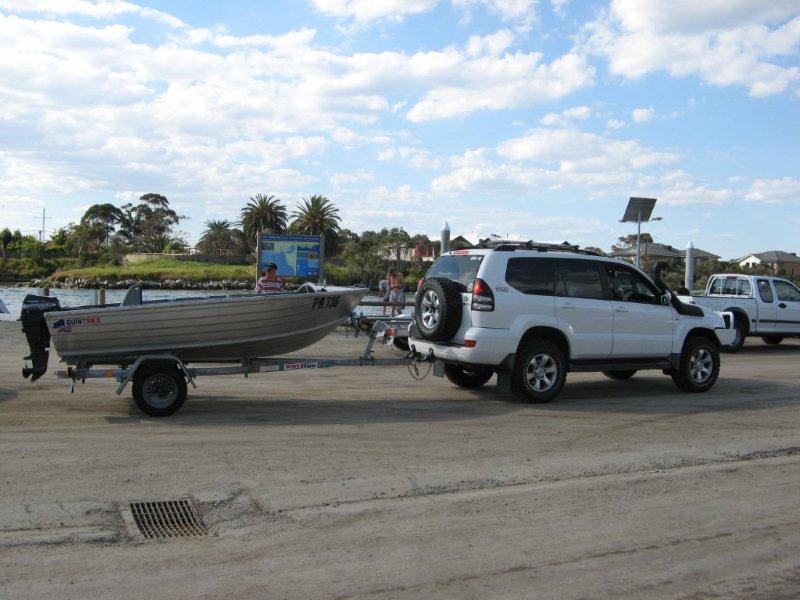
Finally have my winch installed and working. A bit of a saga but all's well that ends well. Will take some pic's tomorrow.
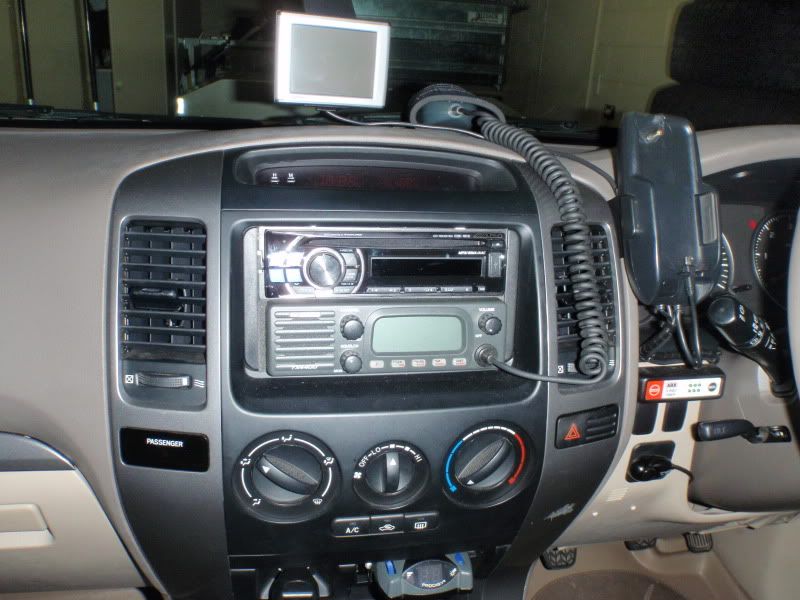
I also pulled the overhead console out. I guess I have been putting up with a fairly significant blind spot to the left for some time, but have had a couple of near misses lately so it is sitting in my garage, along with the TX4400, so I am also considering getting a more compact radio, maybe a TX3340.
My Rig Buildup [url]http://www.pradopoint.com/viewtopic.php?f=38&t=4918[/url]
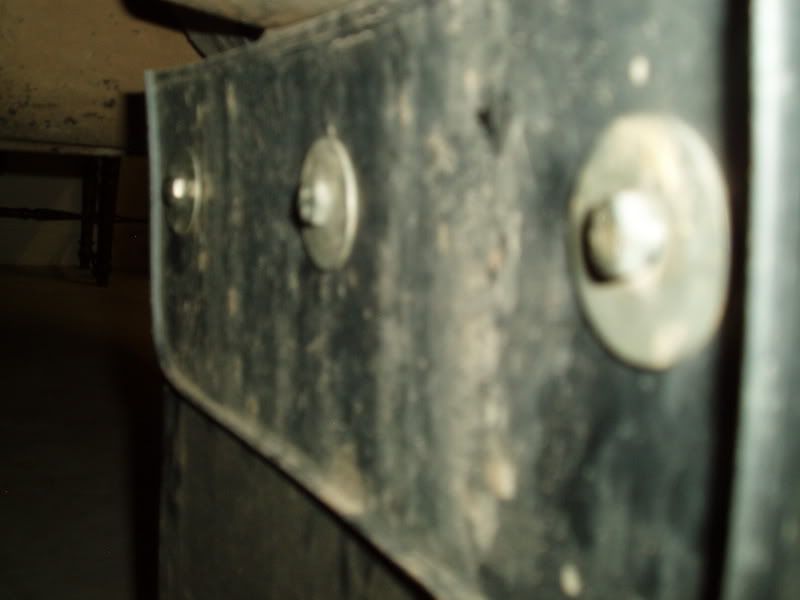
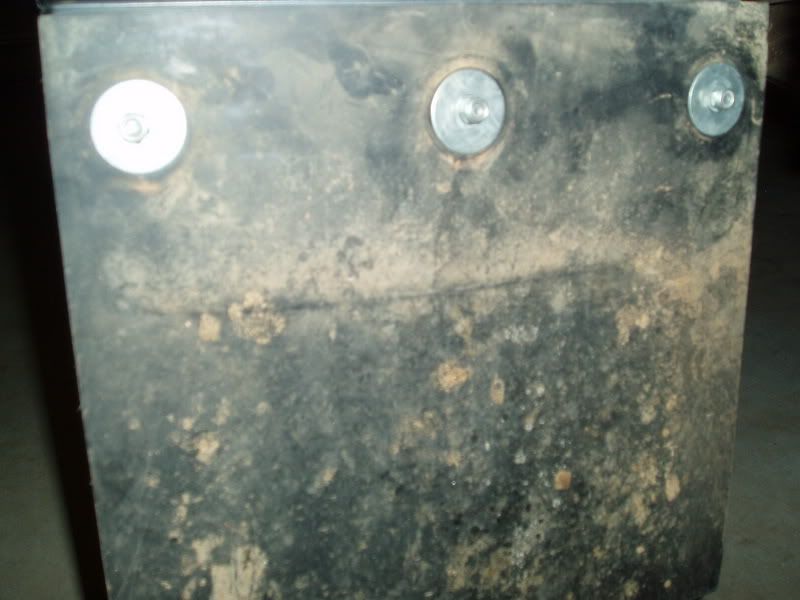
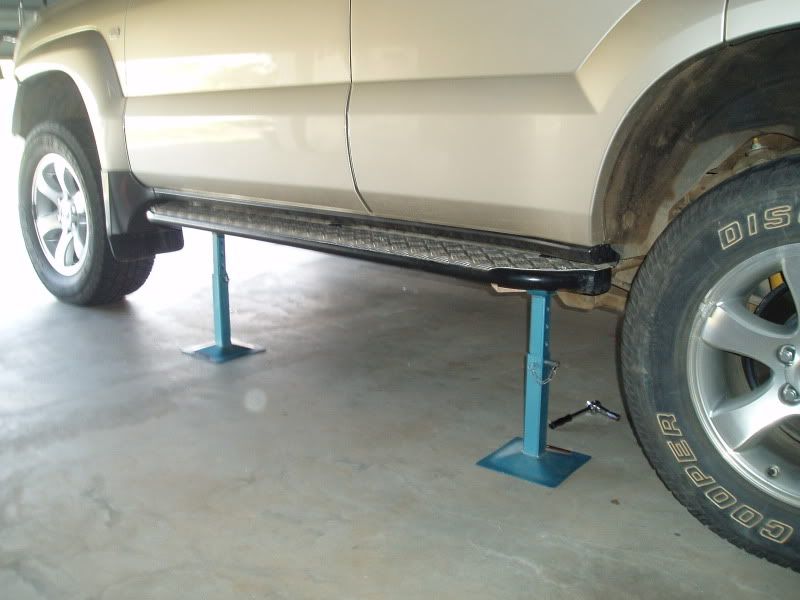
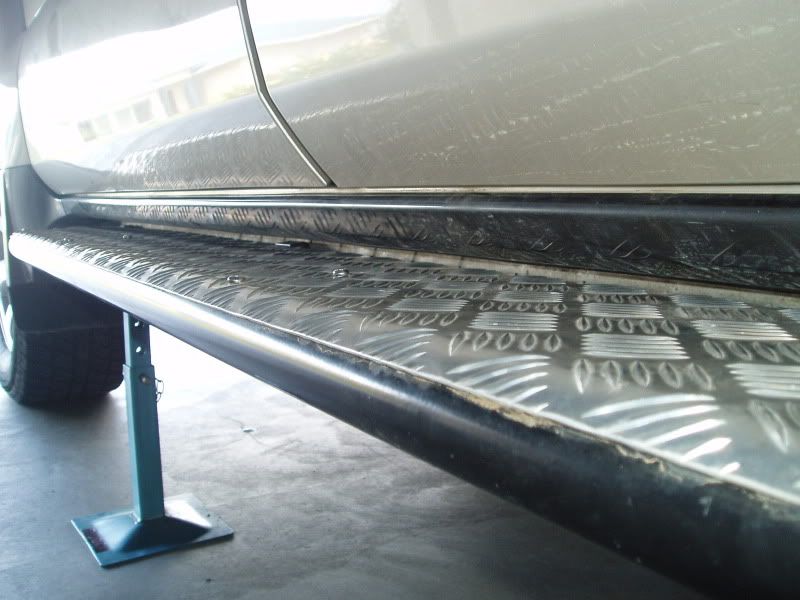
I got them from Autocraft and they cost me around $1000 for the pair.
To fit them, I firstly set them up on axle stands to get them lined up in the correct position.
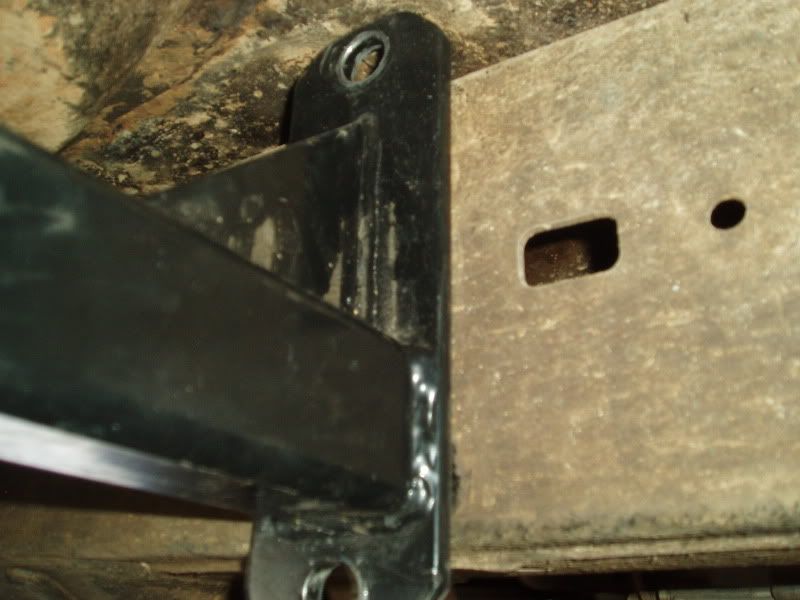
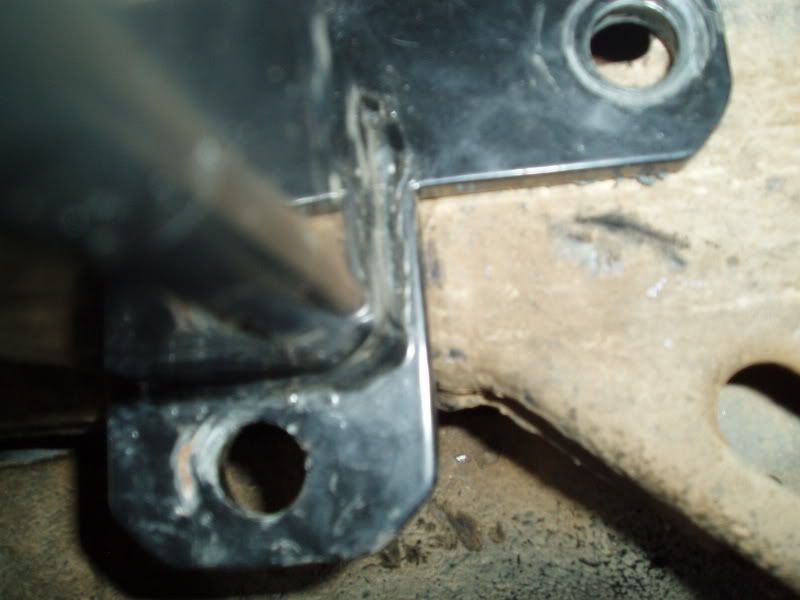
On the drivers side, both the forward and rear mounts use bolts that go above and below the chassis.
This is the easy side.
On the passenger side, the rear mount goes through the chassis, and is a real bugger to get started.
In my case I had to elongate the upper bolt hole to get enough clearance for the lower one. I also found that angling the step to get this one bolt started was the easiest way.
The other thing to watch for is clearance between the top of the mounting plates and the floor pan. Make sure to line up the mounts with the pressings in the floor plan.
Hope this helps anyone conteplating doing the same.
Cheers,
Kevin
My Rig Buildup [url]http://www.pradopoint.com/viewtopic.php?f=38&t=4918[/url]
Still definitely one of my favourite rigs on here Kevin - very impressive.
Got any more plans for it? Or is it just a matter of driving it now?
Just some cleaning up. Over the last couple of months I have rearranged the dash set up to allow me to leave the overhead console out and keep the TX4400.
The stero head unit is just a basic Alpine unit but has better iPod integration than I had with the OEM and Xlink. Also moved the Prodigy from in front of the left knee to the ash tray.
My Rig Buildup [url]http://www.pradopoint.com/viewtopic.php?f=38&t=4918[/url]
 Tweet
Tweet

Comment